Let’s JMP – Part 4: App Volumes
In this part I will guide you through the steps for installing and configuring a basic App Volumes environment.
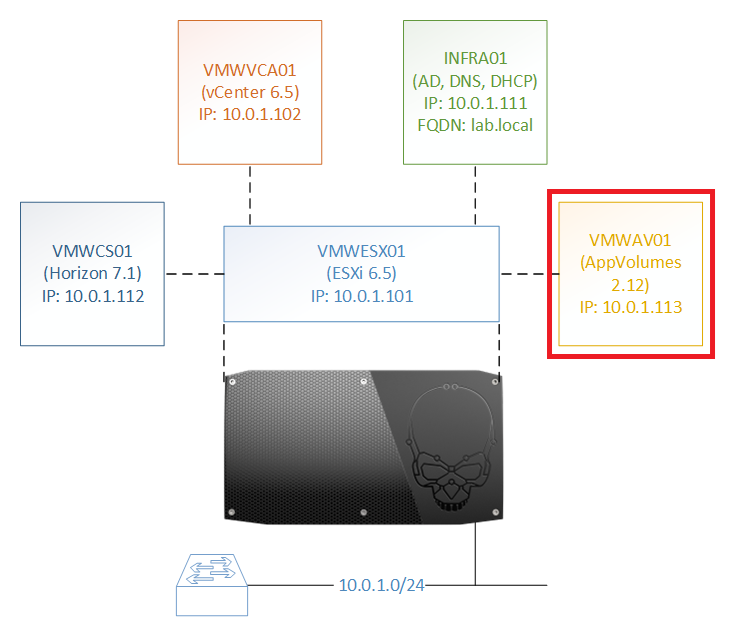
Overview
The component with a red square is installed and configured in this part.
Prerequisites & Assumptions
Before installing App Volumes, I assume you already have your virtual machine up and running with the correct hardware requirements for App Volumes and the Windows Server OS deployed, configured and domain joined. Just make sure you use a supported Windows Server OS for the installation of App Volumes.
Installing App Volumes
| Make sure the ISO is mounted and open the folder Installation | 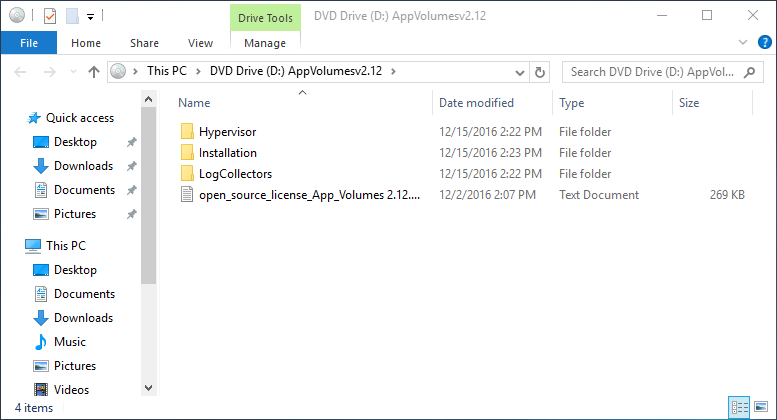 |
| Double click setup.exe | 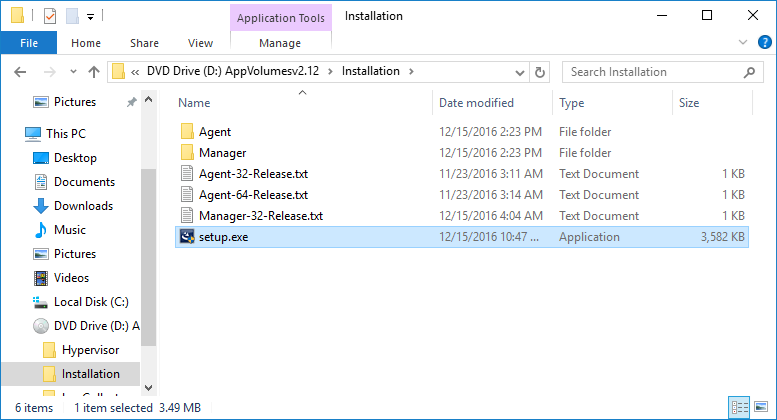 |
| If you receive a User Account Control message, click Yes | 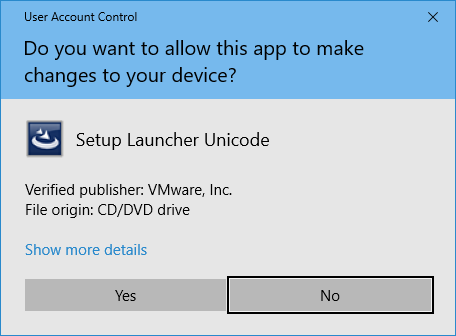 |
| Click Next | 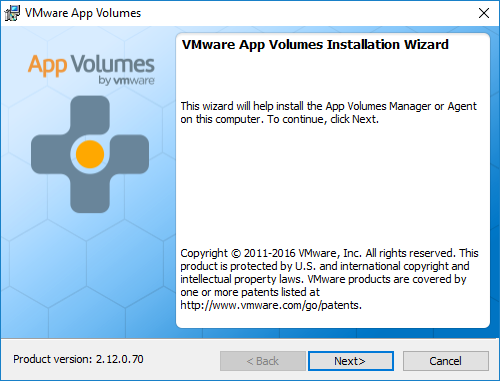 |
| Select I accept the terms in the license agreement and click Next | 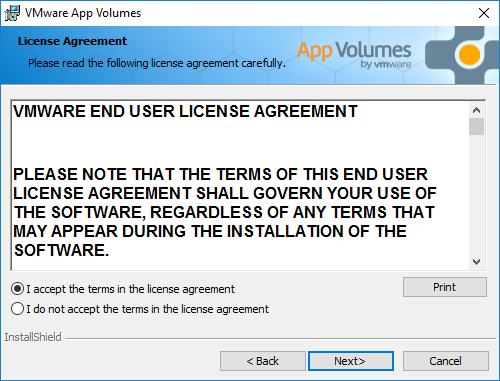 |
| Select Install App Volumes Manager and click Install | 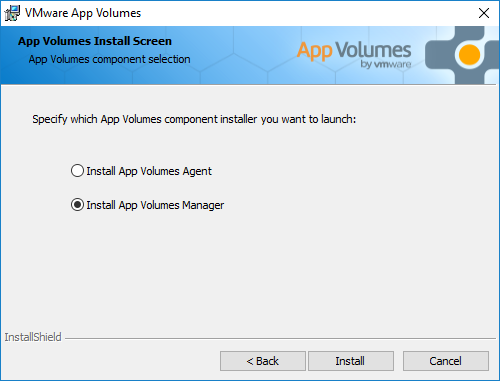 |
| Click Next | 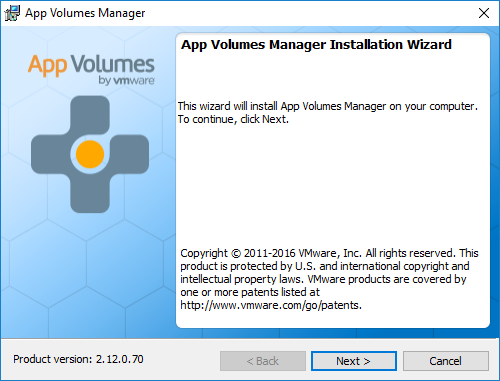 |
| Select Install local SQL Server Express Database and click Next | 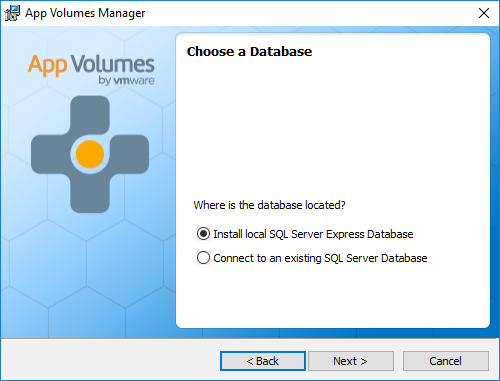 |
| SQL Server Express is being installed | 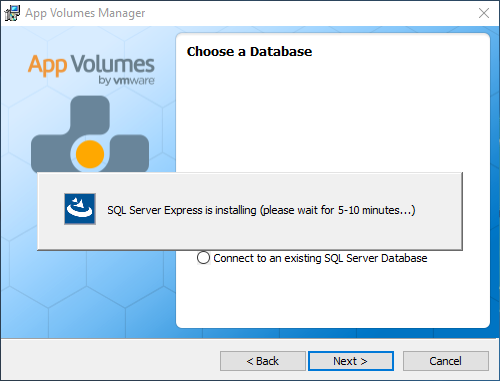 |
| Leave the default and click Next | 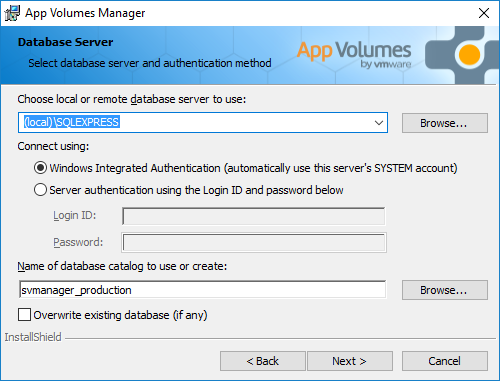 |
| Leave the defaults and click Next | 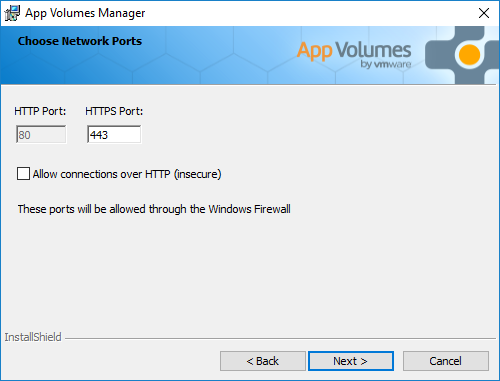 |
| Click Next | 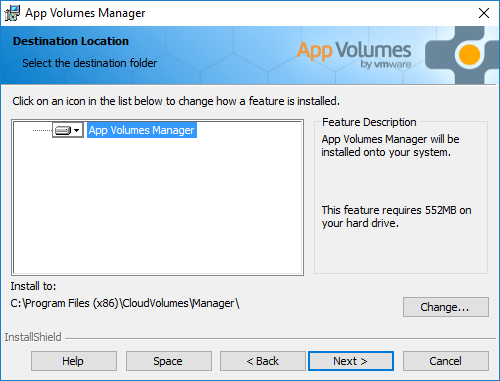 |
| Click Install | 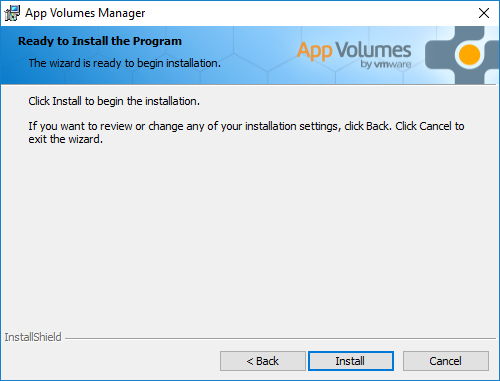 |
| App Volumes Manager is being installed | 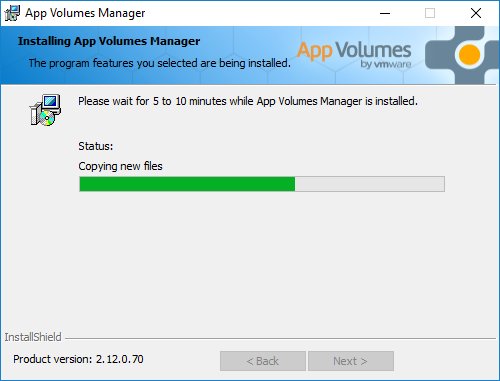 |
| Click Finish | 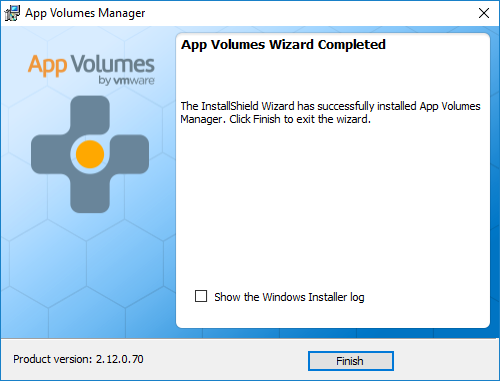 |
Configuring App Volumes
| Open your favorite browser and go to [https://vmwav01.lab.local](https://vmwav01.lab.local)
Click ADVANCED and click Proceed to vmwav01.lab.local (unsafe) |
 |
| Click Get Started | 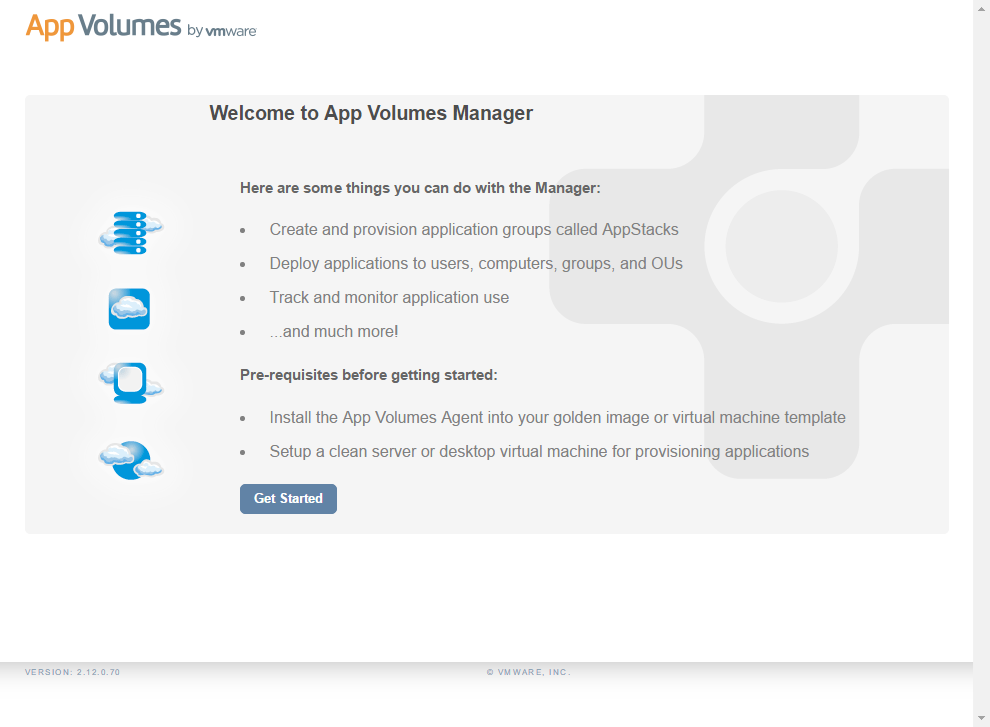 |
| Click Next |  |
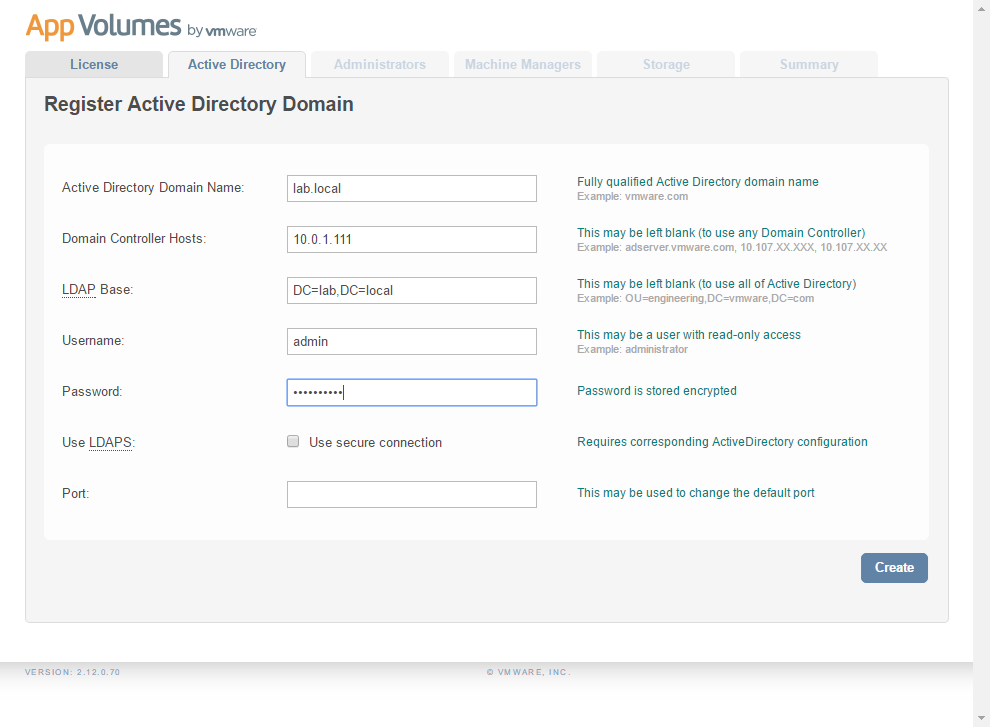
| Enter lab.local for Active Directory Domain Name
Enter 10.0.1.111 for Domain Controller Hosts Enter DC=lab,DC=local for LDAP Base Enter admin (or your own account name) for Username Enter Password and click Create |
 |
| Click Next | 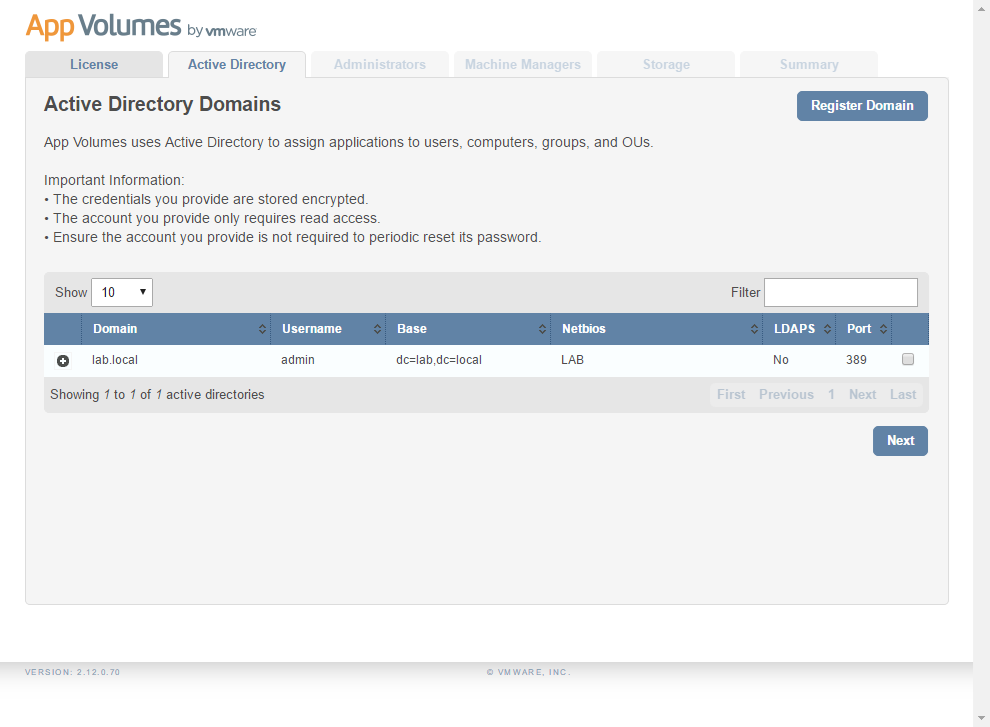 |
| Enter domain admins for Search Groups and click Search | 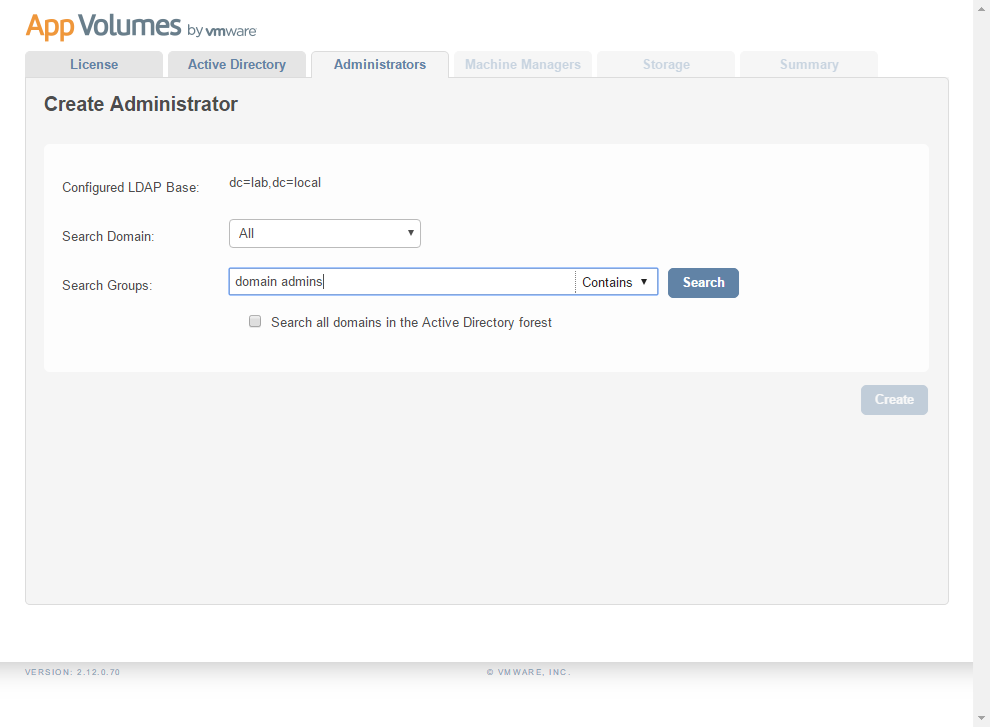 |
| Select LAB\Domain Admins for Choose Group and click Create | 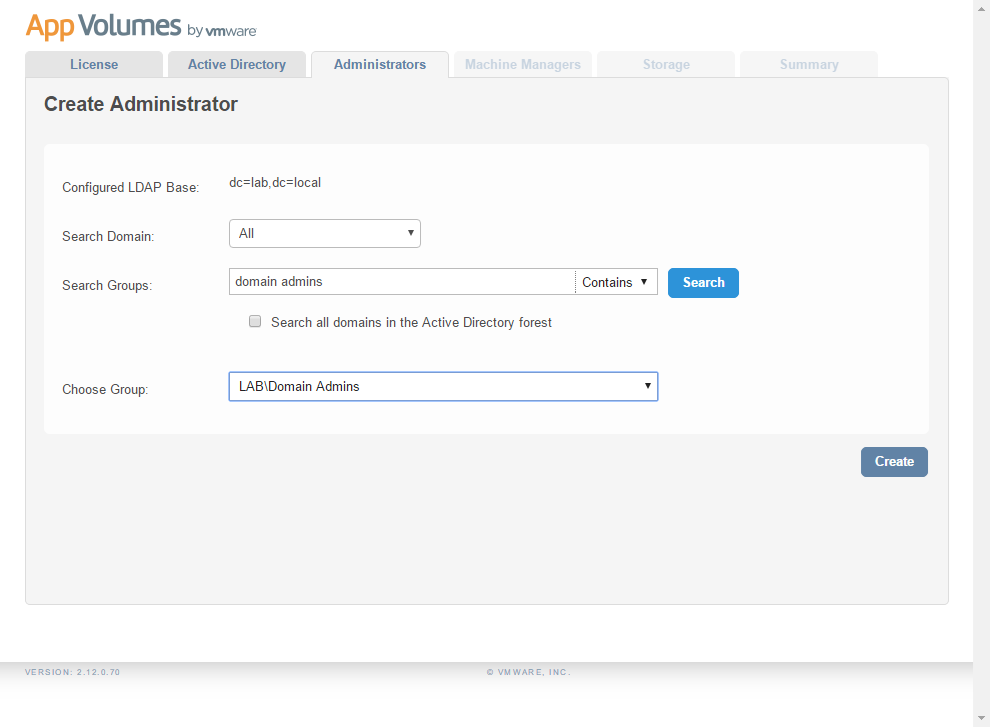 |
| Click Next | 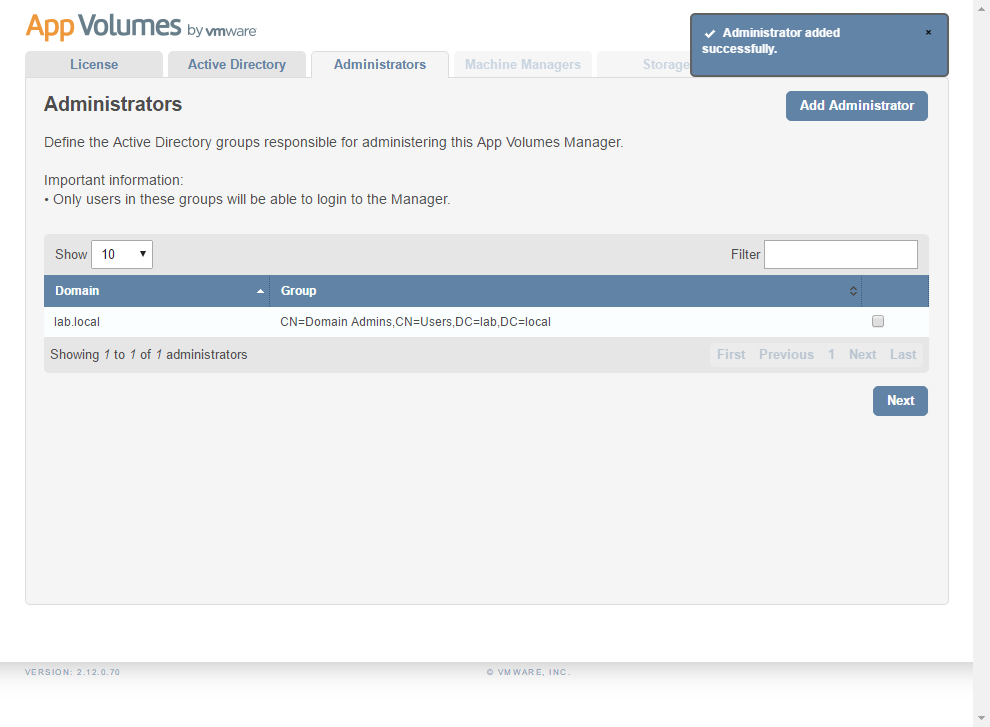 |
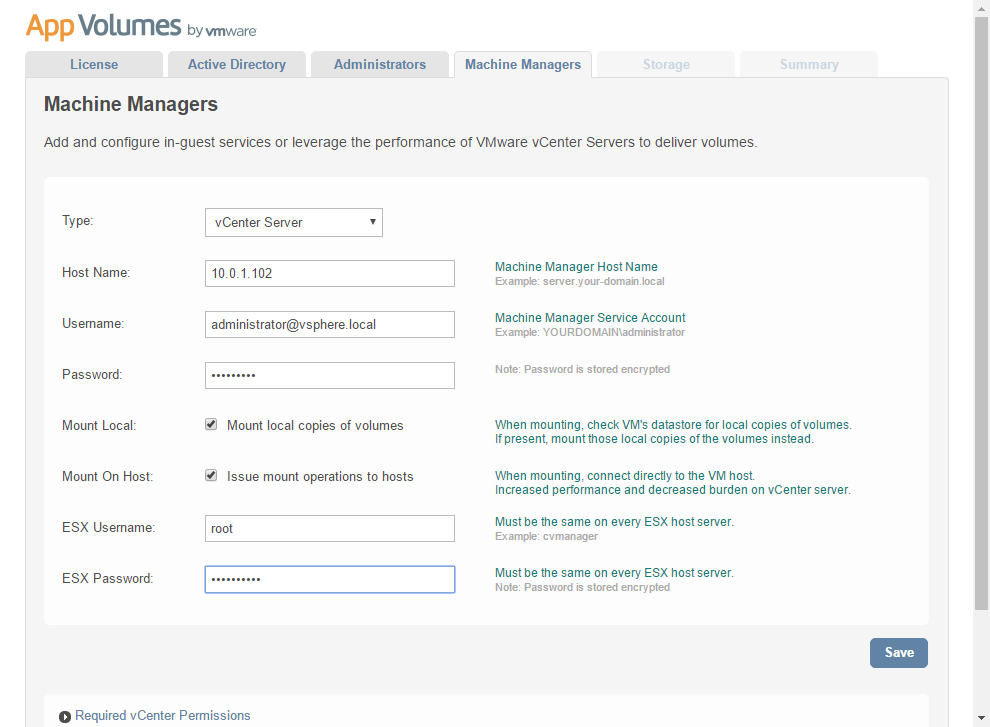
| Enter 10.0.1.102 for Host Name
Enter administrator@vsphere.local for Username Enter Password Enable Mount local copies of volumes Enable Issue mount operations to hosts Enter root for ESX Username Enter ESX Password and click Save |
 |
| Click Accept | 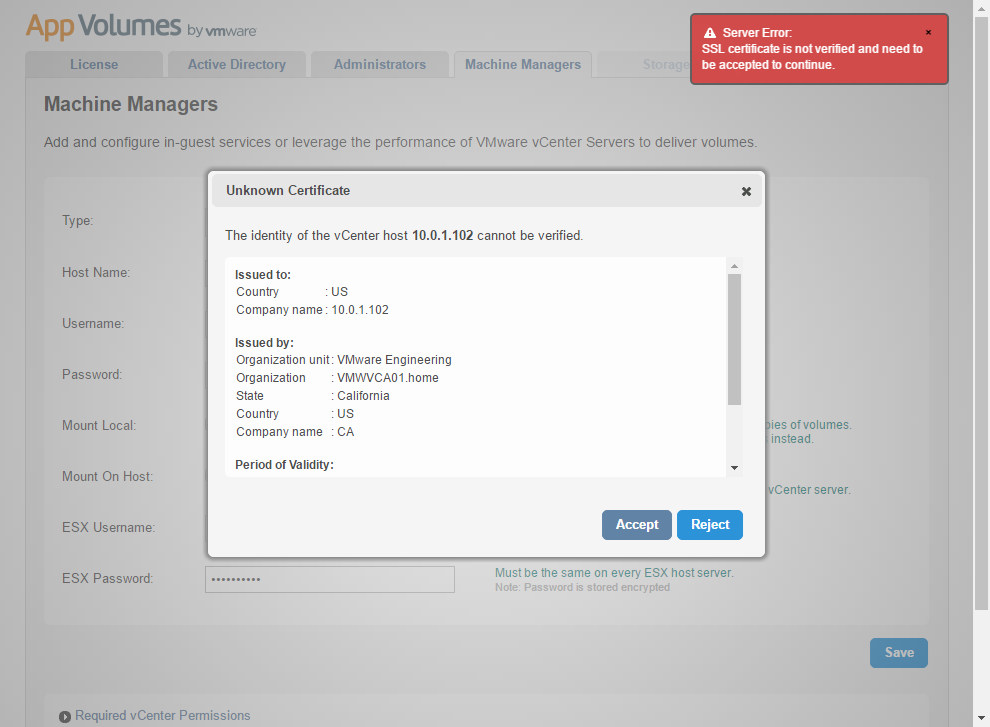 |
| Click Next | 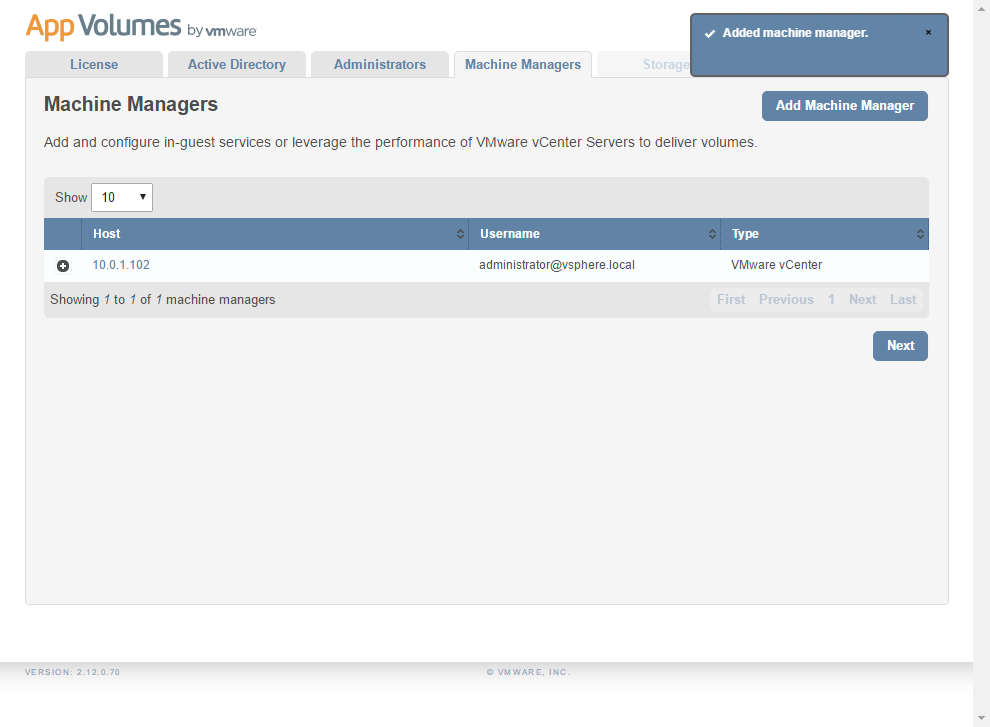 |
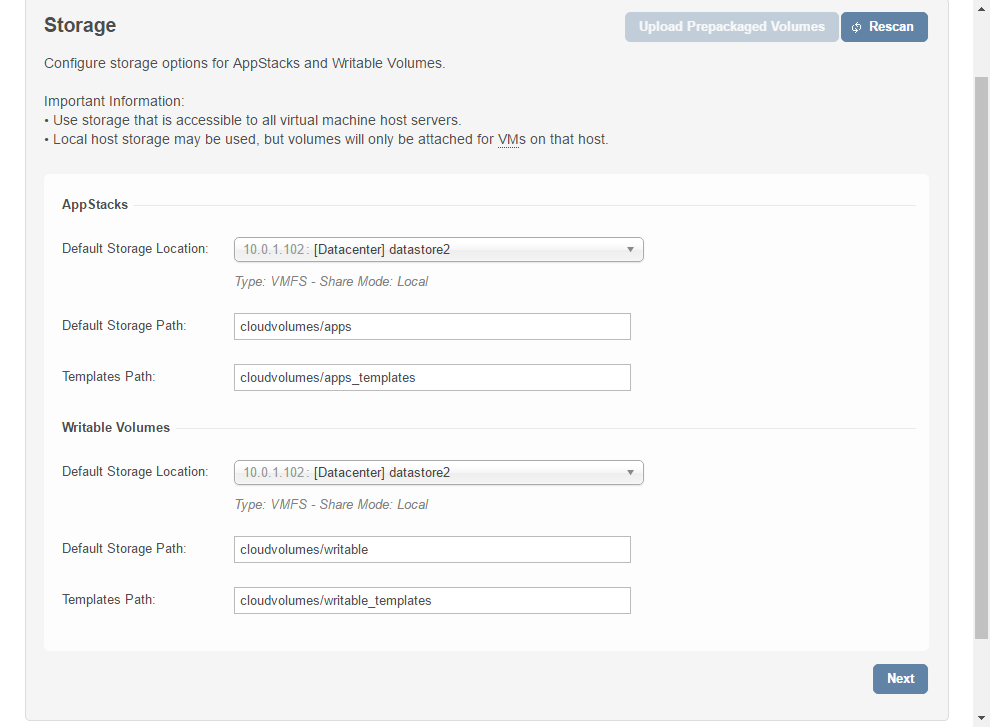
| Select a Default Storage Location for AppStacks
Select a Default Storage Location for Writable Volumes Leave the other defaults and click Next |
 |
| Select Import volumes in the background and click Set Defaults | 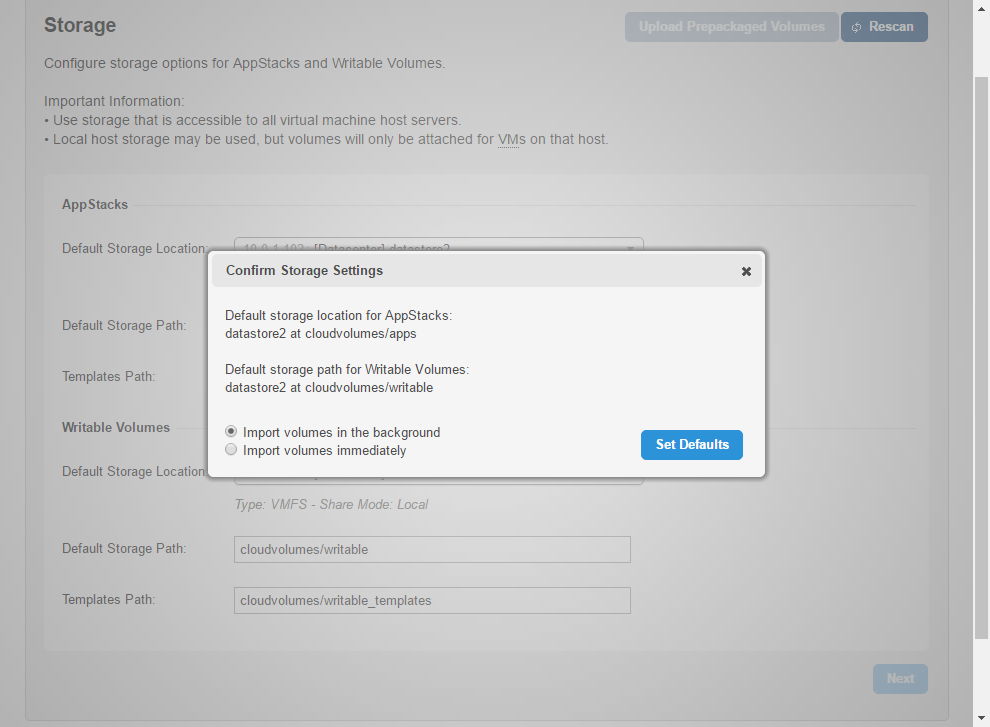 |
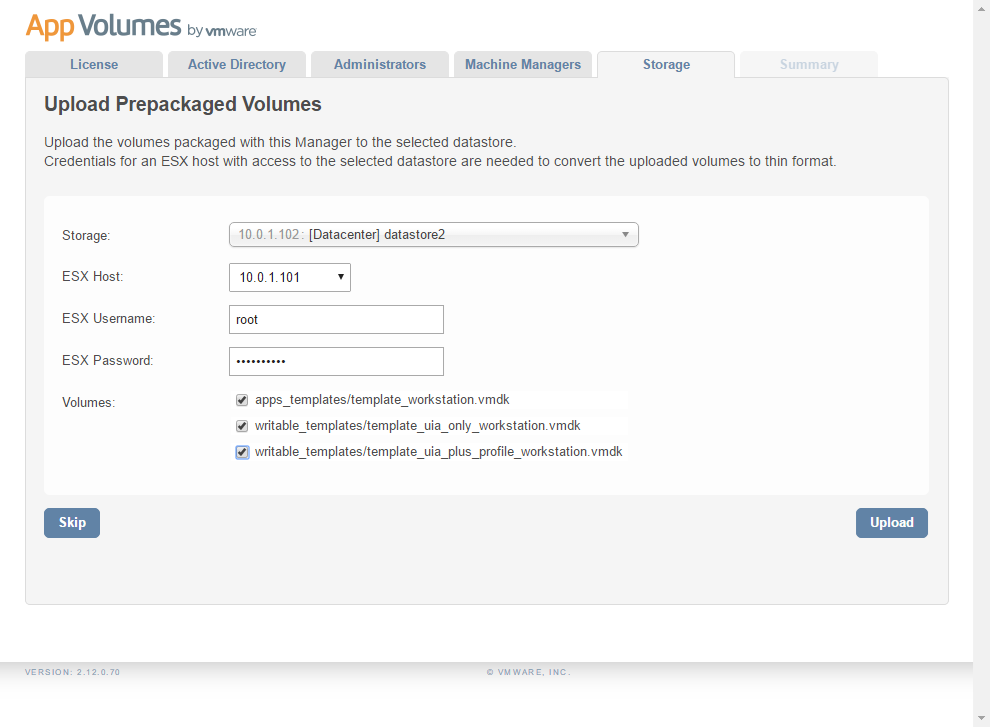
| Enter 10.0.1.101 for ESX Host
Enter root for ESX Username Enter ESX Password Select all Volumes: apps_… and writable_… and click Upload |
 |
| Click Upload | 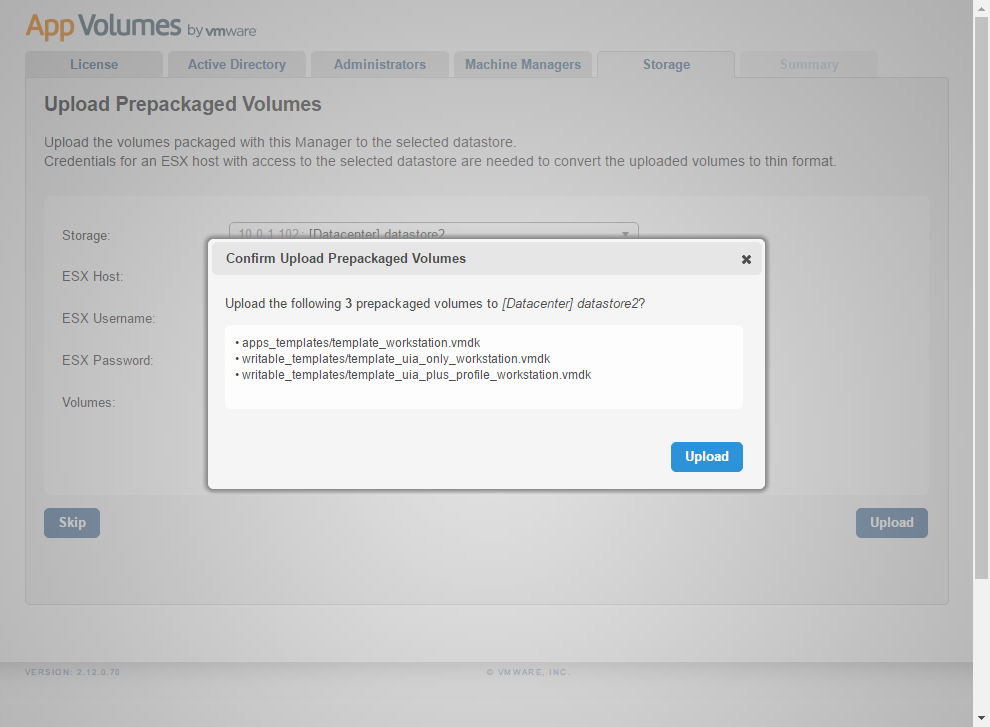 |
| Click Next | 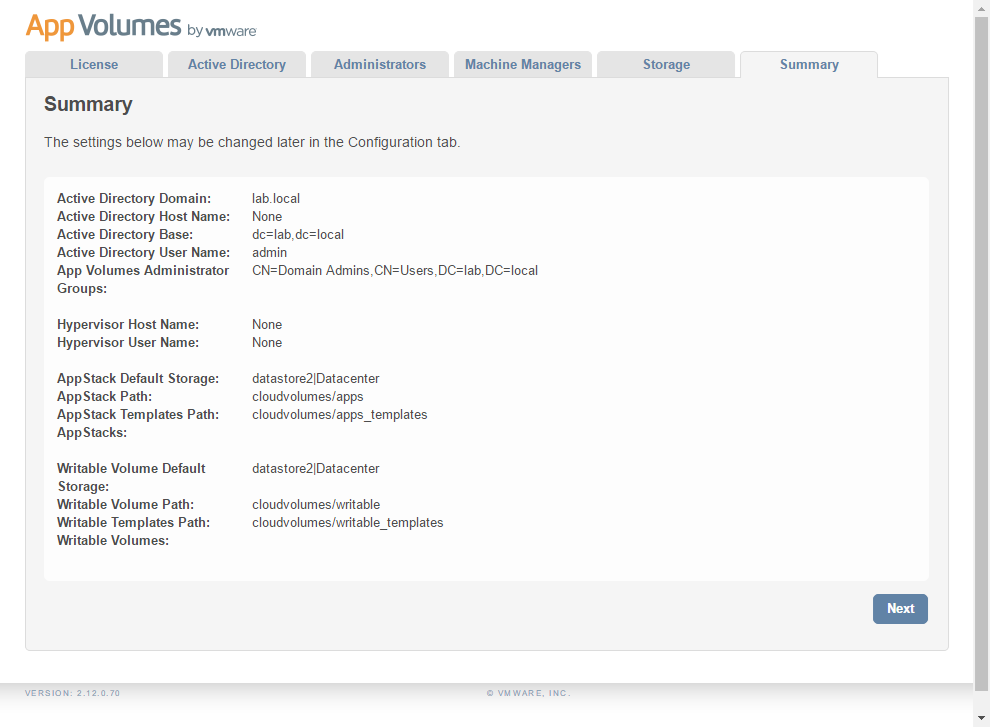 |
| App Volumes is configured |  |
NextUp >> Let’s JMP – Part 5: User Environment Manager (UEM)