
HOWTO: Add and configure an Imprivata virtual demo appliance on ESX (vSphere)
Step 1 – Download the Imprivata virtual demo appliance
Download the Imprivata virtual demo appliance from the Imprivata support site (credentials needed).
Step 2 – Upload the VMDK and VMX
Upload the VMDK and the VMX file to a folder on the datastore. From the datastore, add the VMX file to the inventory.
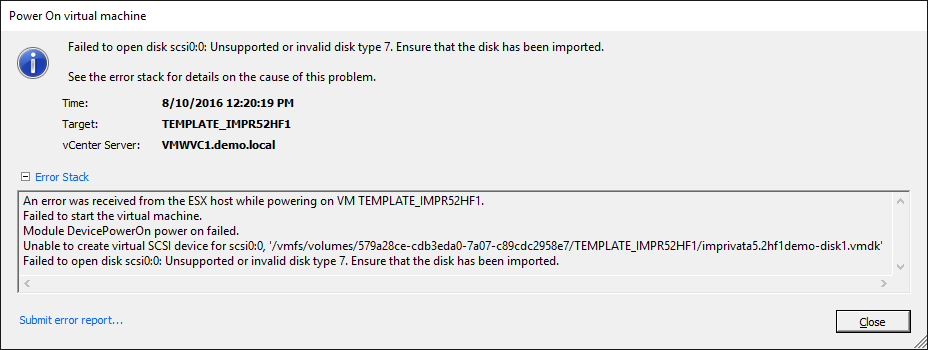
Step 3 – Starting the Imprivata virtual demo appliance
After starting the Imprivata virtual demo appliance in ESX, you come across this error: “Failed to open disk scsi0:0: Unsupported or invalid disk type 7. Ensure that the disk has been imported.”
Step 4 – Enable SSH on ESX
Enable SSH on the ESX server and execute the following command.
Step 5 – Convert the VMDK to the newest virtual hardware format
_vmkfstools -i /vmfs/volumes/datastore/virtual_machine_folder/virtual_machine.vmdk /vmfs/volumes/datastore/virtual_machine_folder/new_virtualmachine.vmdk -d thin
Step 6 – Reconfigure the VM configuration
Remove the disk from the VM configuration and remove the current disk. Attach the new disk to the VM configuration.
Remove the network adapter and add a new network adapter of type E1000.
Step 7 – Start the Imprivata virtual demo appliance
The Imprivata virtual demo appliance will now start without any errors mentioning the virtual hard disk and/or the network.